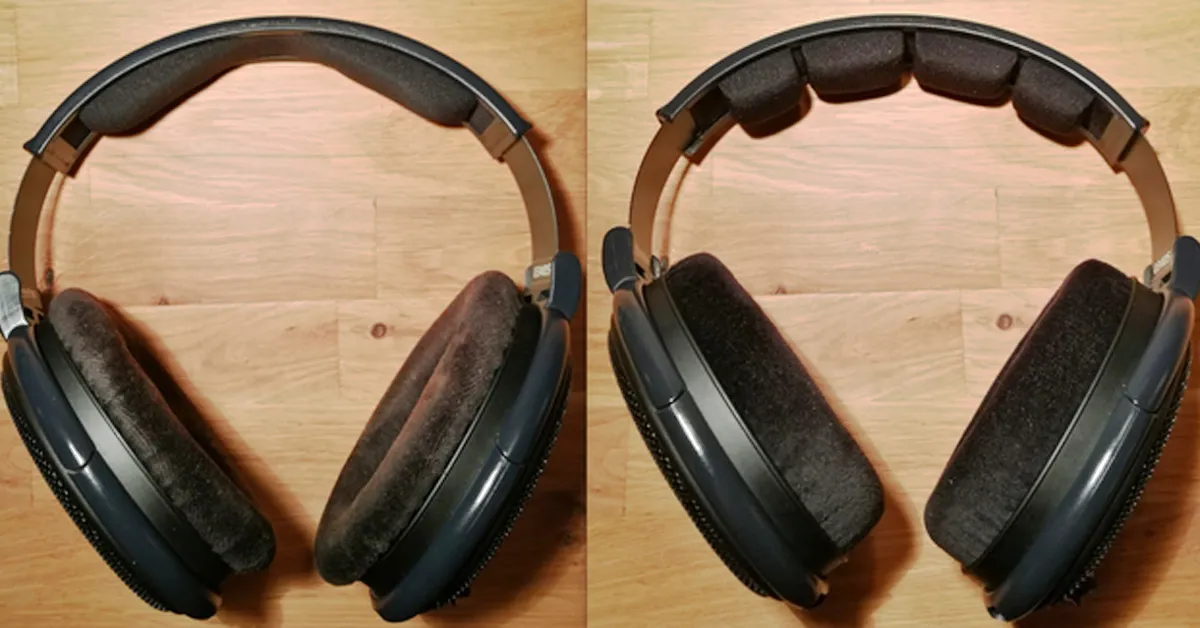
At some point, you might have purchased headphones that did not fit properly, resulting in discomfort or even pain after prolonged use. This problem is common among headphones that come with a fixed headband.
The headband is a critical component in determining how comfortable your headphones will be on your head. Fortunately, replacing a headband is easy, and it can save you the agony of dealing with headphones that do not fit properly. In this guide, we will show you how to replace headbands with headphones to get the perfect fit.
How To Replace Headbands Of Headphones
By following these simple steps you will be able to replace your Headphone headband Successfully!
Choose The Right Replacement Headband
Not all headphones have interchangeable headbands. Therefore, you need to check if the manufacturer of your headphones sells replacement headbands. If they do, ensure that you choose the right headband that is compatible with your headphones. You can search for them on Amazon or eBay.
If your headphones do not have replacement headbands from the manufacturer, you can opt for third-party headbands. However, ensure that you get a headband that is compatible with your headphones. You can also choose a headband that matches the design and color of your headphones.
Remove The Old Headband
Before you can replace the headband on your headphones, you must remove the old one. To do this, you will need to detach the ear cups from the headband. Most headphones have ear cups that can swivel or rotate to allow for easy removal. Enjoy The Perfect FitIf your headphones do not have detachable ear cups, you may need to unscrew them or use a pry tool to remove them.
Once you have removed the ear cups, you can now access the headband. Depending on the design of your headphones, you may need to remove screws or clips that hold the headband in place. Carefully remove the old headband from the ear cups and set it aside.
Install The Replacement Headband
Installing a new headband is simple and straightforward. You will need to attach the new headband to the ear cups. Ensure that the headband is aligned correctly and that any screws or clips are in place. Tighten the screws or clips until the headband is secure.
Once the headband is in place, you can now attach the ear cups. Align the ear cups to the new headband and ensure that they are secure. You can test the headphones to see if they fit properly.
Enjoy The Perfect Fit
Congratulations! You have now successfully replaced the headband on your headphones. You can now enjoy the perfect fit and comfort that comes with well-fitting headphones. With this guide, you can also replace headbands on other headphones that you may have.
How do you replace headphone band cushions?
Replacing headphone band cushions is a relatively easy process that can be done in just a few steps. Here’s how you can do it:
First, you need to identify the type of cushion that your headphones have. There are two main types of cushions: those that slide on and those that snap on. Most headphones have snap-on cushions, which means they are attached to the band with small clips.
Next, remove the old cushions from your headphones. If your headphones have snap-on cushions, gently pull them off the band by using a small screwdriver or your fingernail to lift the clips. If your headphones have slide-on cushions, you’ll need to slide them off the band by gently pulling them in opposite directions.
Once you have removed the old cushions, clean the headphone band with a soft cloth to remove any dirt or debris.
Now, it’s time to attach the new cushions. If your headphones have snap-on cushions, simply snap the new cushions into place by aligning the clips on the cushion with the slots on the band. If your headphones have slide-on cushions, slide the new cushions onto the band by aligning the openings on the cushion with the band.
Make sure the cushions are secure and properly aligned. Test your headphones to ensure that the cushions are not blocking the sound.
That’s it! With just a few simple steps, you can replace your headphone band cushions and enjoy a more comfortable listening experience.
Conclusion
Replacing a headband on headphones is easy and straightforward. It can save you the agony of dealing with headphones that do not fit properly. Whether you need to replace a headband on your existing headphones or want to upgrade your headphones with a new headband, this guide has got you covered. Follow these simple steps, and you will be on your way to enjoying the perfect fit and comfort that comes with well-fitting headphones.
- Charging Bluetooth Headphones During Use: Is It Possible? - January 9, 2024
- Why Over-Ear Headphones Best for Hearing Health? (7 Reasons) - December 12, 2023
- Fixing the Bose Earbuds Not Charging in Case Problem: Solutions That Work - November 24, 2023
