HyperX Cloud 2 is a popular gaming headset among gamers worldwide. It’s known for its comfort, durability, and excellent sound quality. However, like any other electronic device, it may experience some issues occasionally, and one of the most common issues is outdated firmware.
Updating your HyperX Cloud 2 headphones firmware can improve the overall performance and fix any bugs affecting your listening experience. In this article, we’ll show you how to update your HyperX Cloud 2 headphones firmware in just a few easy steps.
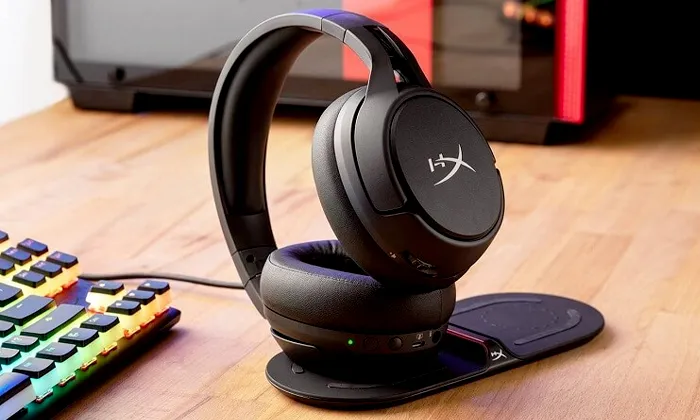
How do I update my HyperX headset firmware?
Step 1: The first step to updating your HyperX Cloud 2 headphones firmware is to visit the HyperX support website. Once you’re on the site, scroll down to the “Downloads” section and find the firmware for your specific model of Cloud 2 headset. Make sure that you download the correct firmware for your headset model.
Step 2: After locating the firmware for your headset, download it onto your computer. Wait for the download to complete, and then open up the file.
Step 3: Once you’ve downloaded the firmware, open up the file and extract the contents to a folder on your desktop. This will make it easier for you to locate the firmware when you need to install it.
Step 4: Now, open up the Device Manager on your computer. You can do this by pressing the Windows key + X and selecting “Device Manager” from the list.
Step 5: Once you’re in the Device Manager, find the “Sound, video, and game controllers” section and expand it.
Step 6: Find your HyperX Cloud 2 headset in the list of devices under the “Sound, video, and game controllers” section. Right-click it and select “Update Driver Software.”
Step 7: Click “Browse my computer for driver software” when the window pops up.
Step 8: Click the “Browse” button to locate the folder where you extracted the firmware files.
Step 9: Select the folder on your desktop where you extracted the firmware files.
Step 10: Click “OK” to select the folder, and then click “Next” to start the installation process.
Step 11: Wait for the firmware to install on your headset. This process should only take a few minutes.
Step 12: After the firmware has been installed, restart your computer to ensure that the changes take effect.
And that’s it! You have successfully updated your HyperX Cloud 2 headphones firmware. By following these steps, you should be able to improve the overall performance of your headset and ensure that it’s working at its best. Updating your firmware regularly is a great way to keep your headset running smoothly and avoid any issues that may arise from outdated software.
You Might Be Interested: How to Fix HyperX Headphones Mic Not Working Learn More!
Verdict
In conclusion, updating the firmware of your HyperX Cloud 2 headphones is a simple and easy process. It only takes a few minutes and can make a significant difference in the overall performance of your headset. By following these steps, you’ll be able to enjoy your gaming experience with improved sound quality and reduced issues.

- Charging Bluetooth Headphones During Use: Is It Possible? - January 9, 2024
- Why Over-Ear Headphones Best for Hearing Health? (7 Reasons) - December 12, 2023
- Fixing the Bose Earbuds Not Charging in Case Problem: Solutions That Work - November 24, 2023
Great tutorial, very easy to follow and helped me update my HyperX Cloud II headphones firmware without any issues!